 Remember when these weren’t like this? Maybe you haven’t been as well “thumbed” by the world as I have been. I’m 41 this year, but it genuinely feels like I’m still 24. Probably because that’s when I stopped counting, age has never been a thing for me.
So much so, I have to be reminded by friends and family of what age I actually am, I just don’t remember because it’s not important, and I need the head space for other stuff, stuff that actually matters.
 Anyway, my subject for today is the humble beer can. Something I enjoy most Friday evenings, but only two, occasionally three.
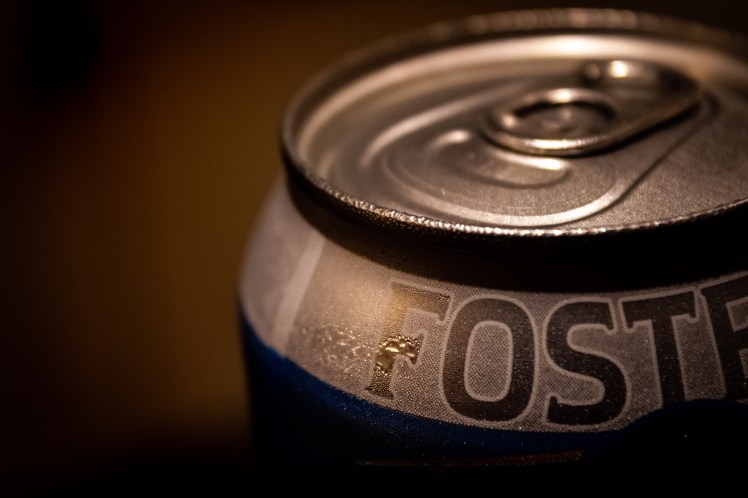
The thing on top that provides most of the detail in this images, is called a “stay-tab”. That might sound obvious now, but before it, we had the “ring pull” or “pull tab”.
In 1959, the recyclable aluminum can was introduced to the American market in a 7 oz. size by the Adolph Coors Company. Also in 1959, Ermal Fraze devised a can-opening method that would come to dominate the canned drink market. His invention was the “pull-tab”. *thanks Wikipedia*
This however, gave rise to some issues with litter, and safety – the edges of the pulls were very sharp. Made worse by the huge popularity of fizzy drinks in a can.
The safety and litter problems were both eventually solved later in the 1970s with Daniel F. Cudzik’s invention of the non-removing “Stay-Tab”, which is what you see here in my photographs.
In 1977 (the year before I was born) beverage companies across the states started to adopt the safer, and more environmentally sound opening system. The UK followed in 1989.
 It’s such a simple idea, they are always the best, and I remember a time when the old system was still in wide use; and streets where littered with the small, curved and sharp twisted bits of discarded metal.
Thank you Mr Cudzik!
 Photography wise (getting back on topic for a moment), all shots today – except the one of my gorgeous wife Holly pouring the beer and being a superb hand model – I took in full manual mode. I needed to be in auto for that one as there was movement, and I needed the focus to track it for me.
For the still shots though, I tuned and refined my settings, until I got the desired effect; be that focused condensation on the glass and can, the bubbles, the shadows or the glints and shimmers off the metal.
 Learnings – my camera has a “live” mode, which I used on the first day I got it, but then have very rarely used since. For those that don’t know what that is, the best way I can describe it is it’s like shooting pictures with your mobile phone; you have a screen you look at and touch the screen to focus and take the shot.
There is nothing wrong with it, I just don’t use it because I find I get “deeper” into the frame, into the composition of the shot, if I look through the view finder.
However, today I used it because I needed to get the camera into an unusual angle, and the adjustable screen is really useful for that.
What I also realised is, whist I’m tweaking my settings in manual, it reflects the changes on the screen in Live mode; which for a beginner like me is really cool! I can adjust something and get an immediate indication of what the result will be like.
I’ll still take most of my shots using the view finder, but whilst I’m tuning the settings into the shot I want and according to the light conditions, no doubt I’ll put live mode to some good use.
Cheers, have a good weekend everyone!
