 Today I took Izzy for a little walk down the road to see the ducklings that have hatched on the local pond.
Unfortunately, our excitement at seeing the tiny newborn duckings wasn’t fulfilled, as they were nowhere to be seen.
It was quite late by now, for ducklings anyway, it was about 7:45pm, so we surmised they’d gone to bed.
 That left me in a little dilemma, though more importantly Izzy wasn’t too upset, she just likes getting out and about. I had hoped to photograph the ducklings, so that turned out to be a none starter.
Back at base camp, Holly set about settling Izzy down for bed, and I gave her a kiss and headed off back out to try and grab a photograph, of something!
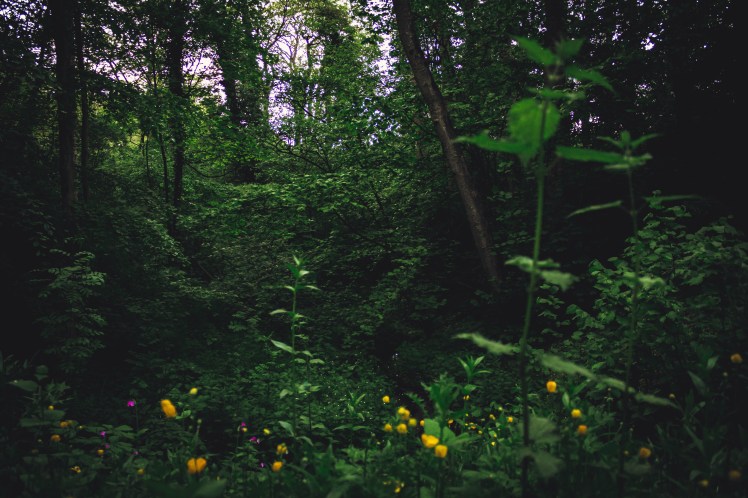
 The sun was almost setting by now, and I thought I might get some nice shots of the last rays of sunshine cutting through the woods, so that’s where I headed.
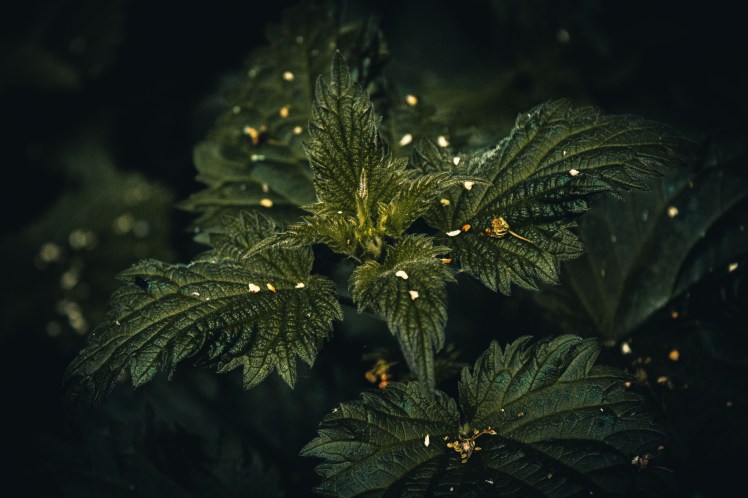
That didn’t quite go to plan either, and I started to just take some photographs of the wild flowers in the wood; they do always catch my eye.
 Whilst photographing the flowers, I found myself automatically putting some composition principles I’ve read and learnt about into practice.
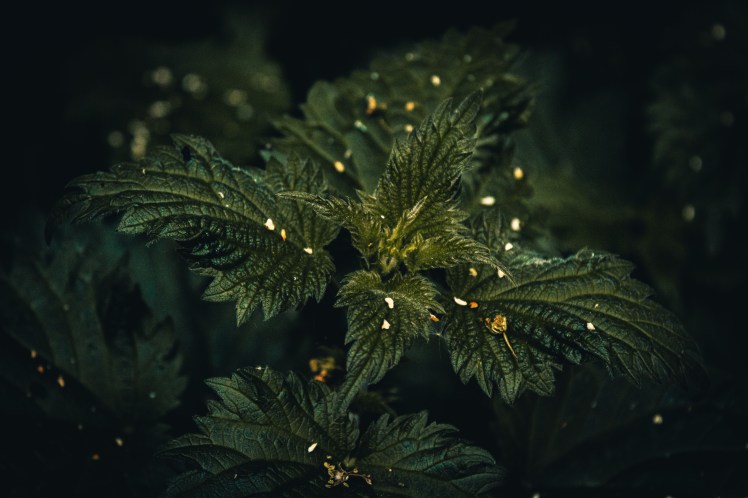
The shots of the nettles above I experimented with diagonal lines, from right to left, and left to right, to see the different effect it might give.
 I also experimented some more with getting a good exposure in manual mode.
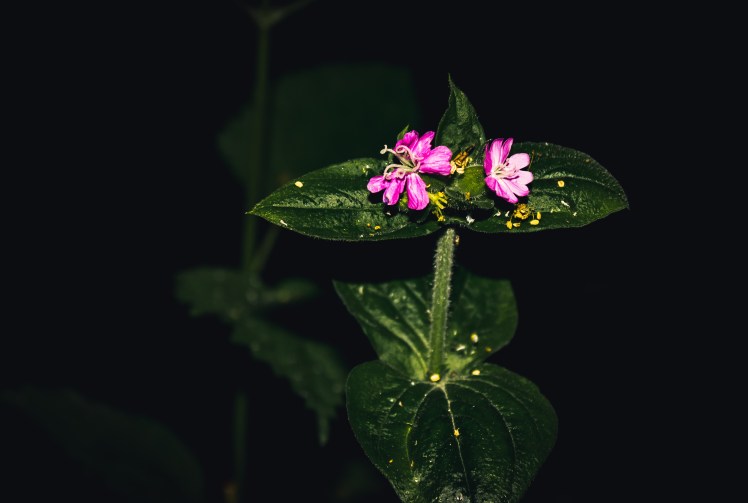
The next two images, I put lots of things I’ve learnt into practice; composition, lighting, focus, depth, layers (foreground, mid ground, background).
I know they’re not amazing photographs, but it was good practice, especially at trying to layer a shot.
I can’t seem to get a nice photograph of the woods themselves, seems to be you need a focus point or a very clear subject of some description, or to me it just ends up like a mass of green and brown shades. Always a bit too busy, not relaxing like the woods actually are.
 I learnt something really neat too, I learnt what the numbers mean at the bottom of the view finder, and now I know why there aren’t settings specifically to control them (well, their kind of are).
They look like this:
-3…-2…-1…0…1…2…3
That is the exposure indicator!!
With my eye to the view finder, scene lined up and in focus, I adjusted settings until the indicator sat in the middle, at the zero point.
Sure enough, when I checked the image I’d captured and it’s histogram, the exposure was good.
This, was really cool for me for a few reasons; I had more instant feedback and control over exposure, and I didn’t have to take the camera away from my face, I knew where the buttons I needed were, and I could see them changing of course in the view finder indicators; along with the newly found (to me) exposure indicator!!
Amazing!

 Learnings – the exposure indicator!!!
